This post may contain affiliate links. Read my full disclosure policy.
Forget store-bought ones: this homemade graham cracker crust comes together in minutes and tastes so much better. With its buttery flavor and crunchy texture, it’s the perfect base for all kinds of desserts.
A homemade graham cracker crust is one of those simple recipes that every home baker should have in their back pocket. It’s quick to make, requires just a few pantry ingredients, and tastes much better than store-bought. This version has the perfect balance of buttery richness and crunchy texture, and it holds together perfectly when sliced. This is my favorite crust for New York cheesecake, key lime pie, lemon meringue pie, and just about any dessert that calls for a graham cracker crust. Best of all, it can be made in advance and freezes wonderfully.
Contents
What You’ll Need to Make a Graham Cracker Crust
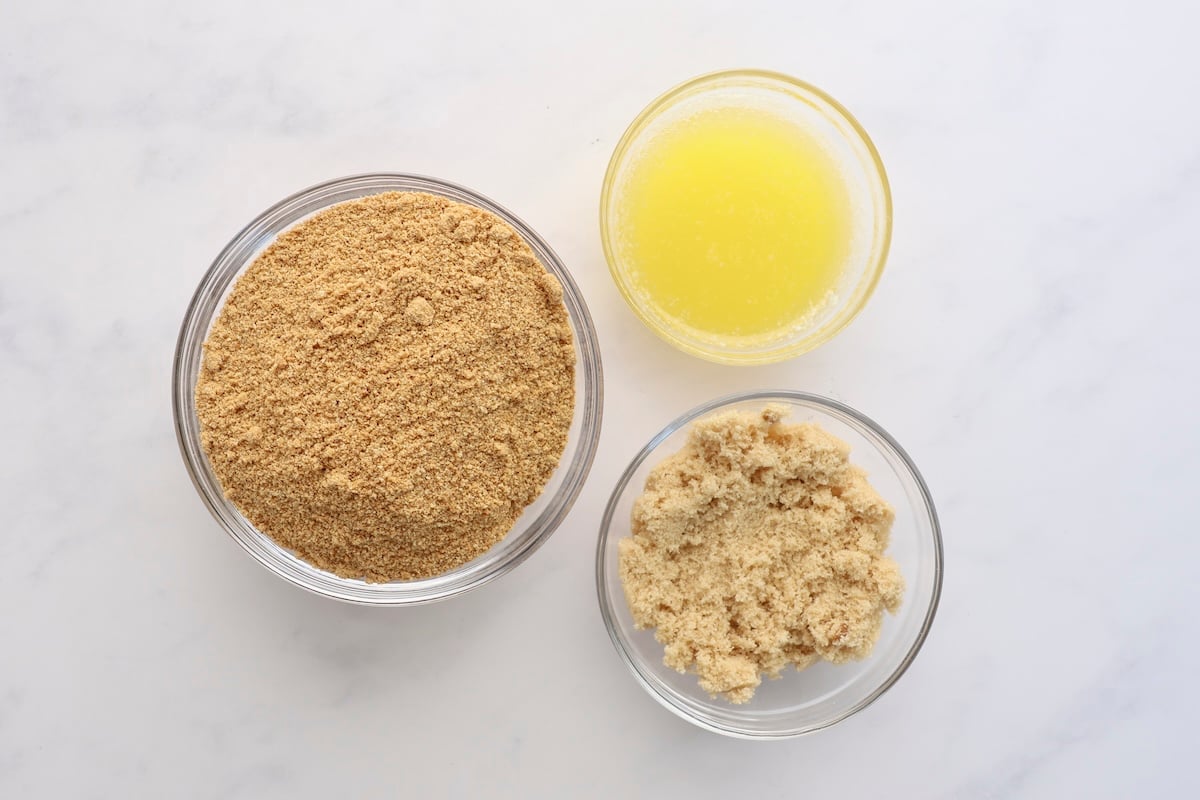
- Graham cracker crumbs: Prepare the sweet and slightly nutty base for the crust. You can grab a box of pre-made crumbs or crush your own (you’ll need about 12 whole crackers). The finer the breadcrumbs, the better the crust holds together – using a food processor makes this easier.
- Brown sugar: Adds a little sweetness to the molasses and helps the crust stick.
- Butter: Acts as the glue that holds the crust together and gives the crust that rich, buttery flavor.
- Access the printable recipe for precise measurements
Step by step instructions
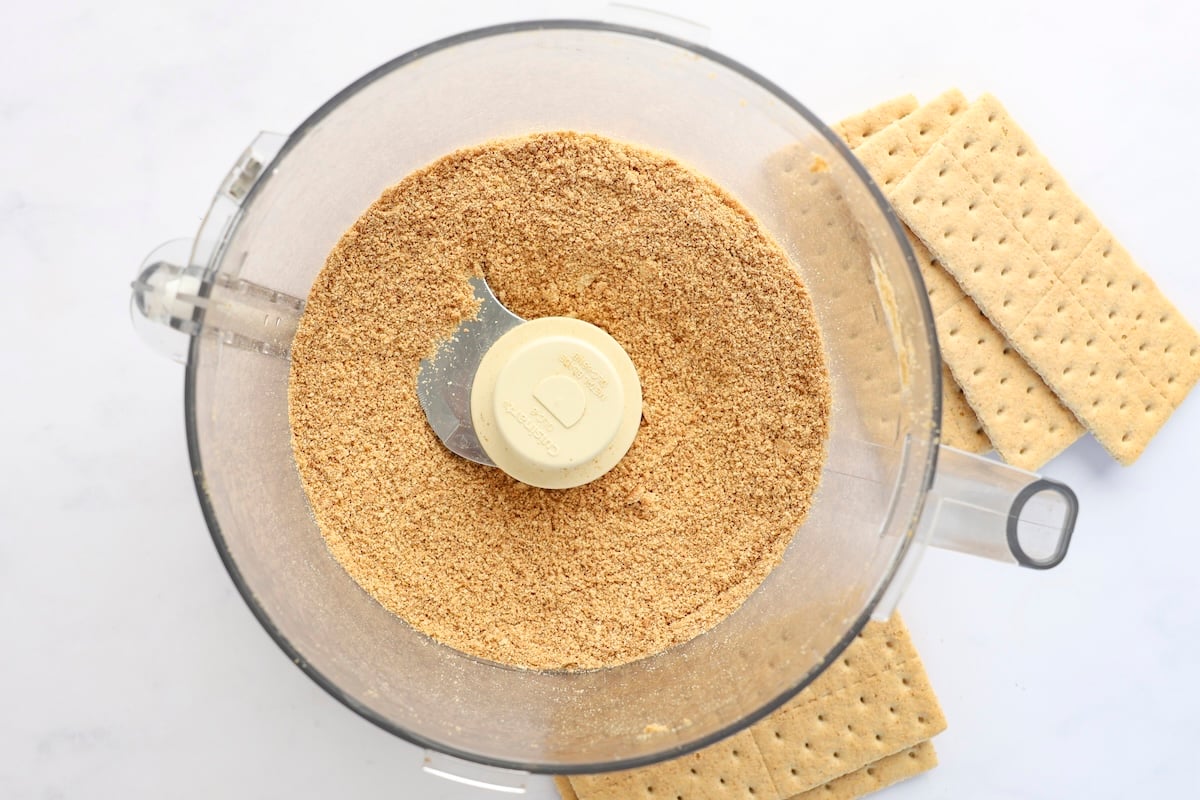
Step 1: Crush the crackers (if necessary). If you’re starting with whole graham crackers, break them in half and process them in a food processor fitted with a steel blade until finely ground. (If you don’t have a food processor, you can place the crackers in a zip-top bag and crush them with a rolling pin – this takes a little longer, but works just as well.) Regardless of the method, aim for a fine, sandy texture without large chunks – this helps the crust come together more easily and bake evenly. (If using boxed crumbs, skip this step.)
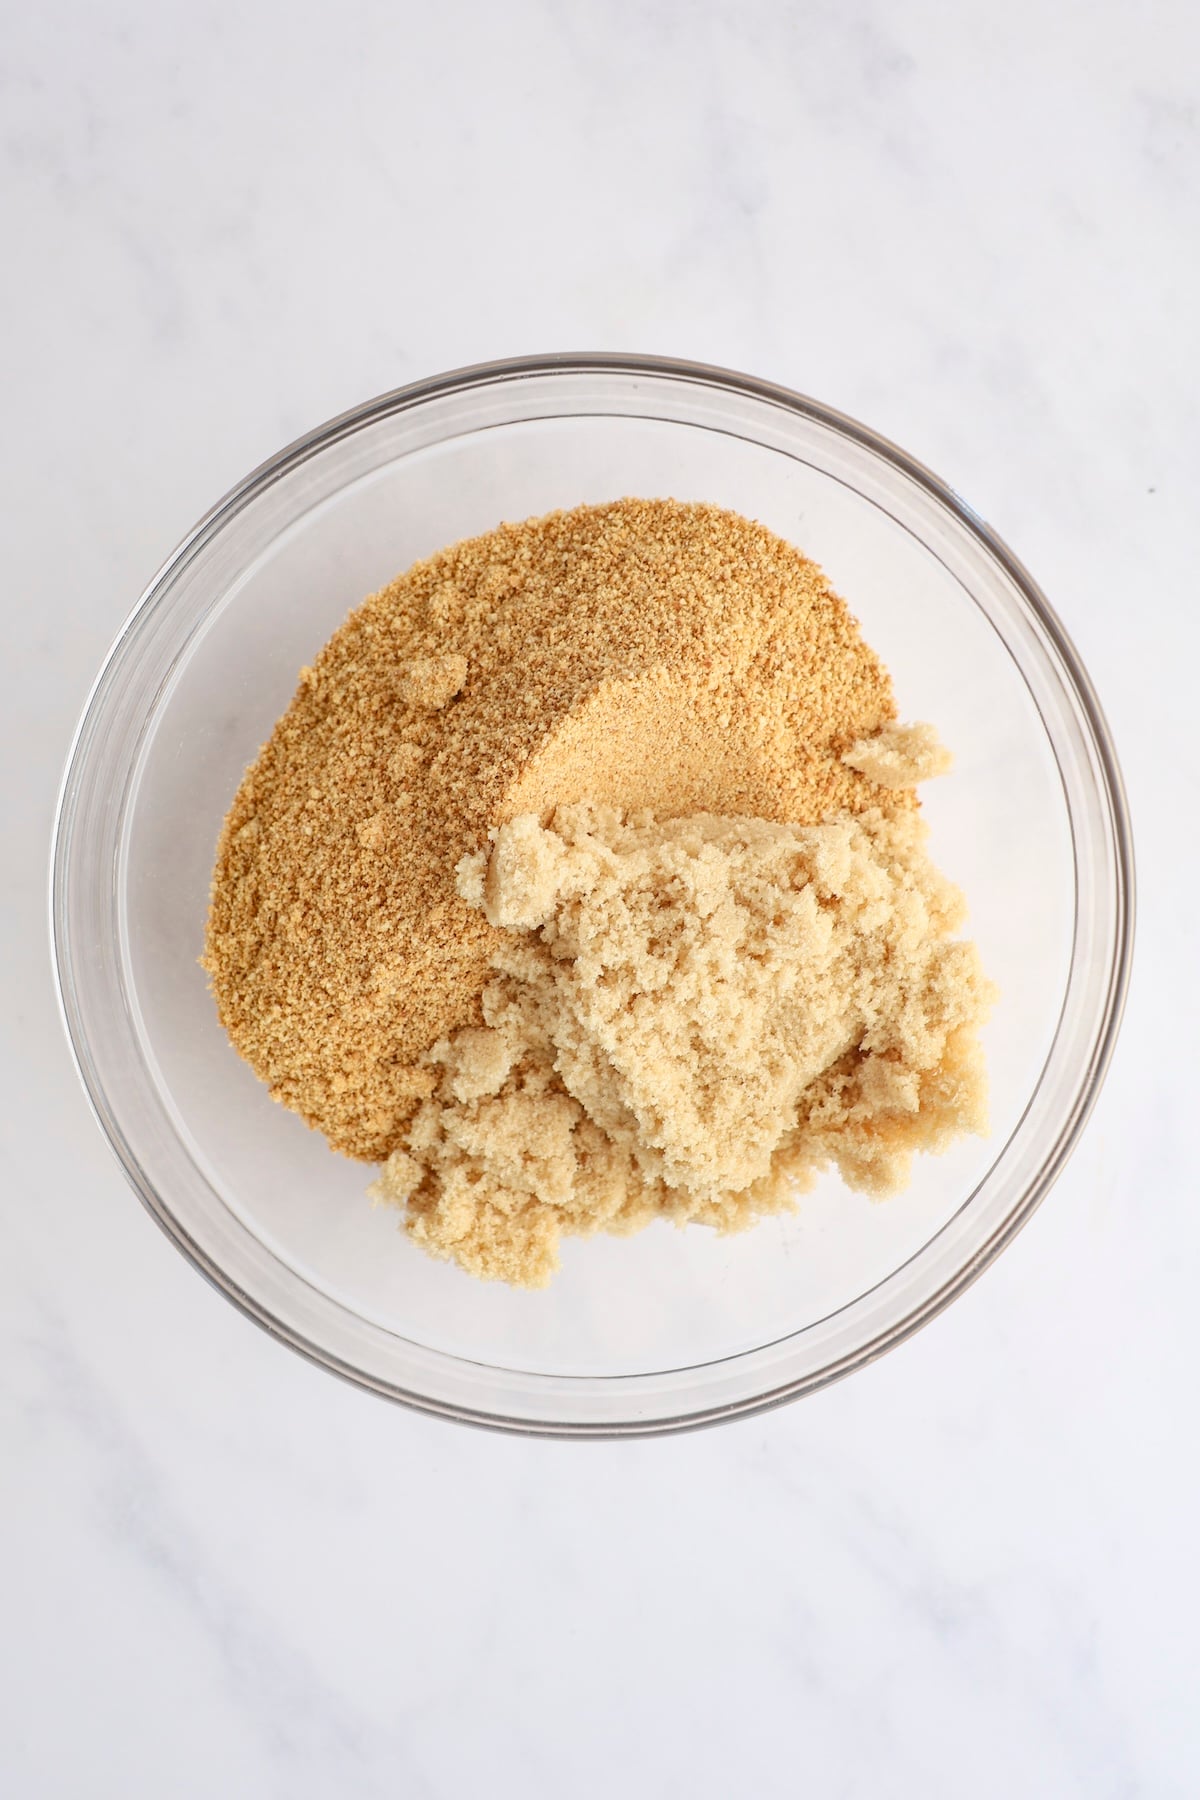
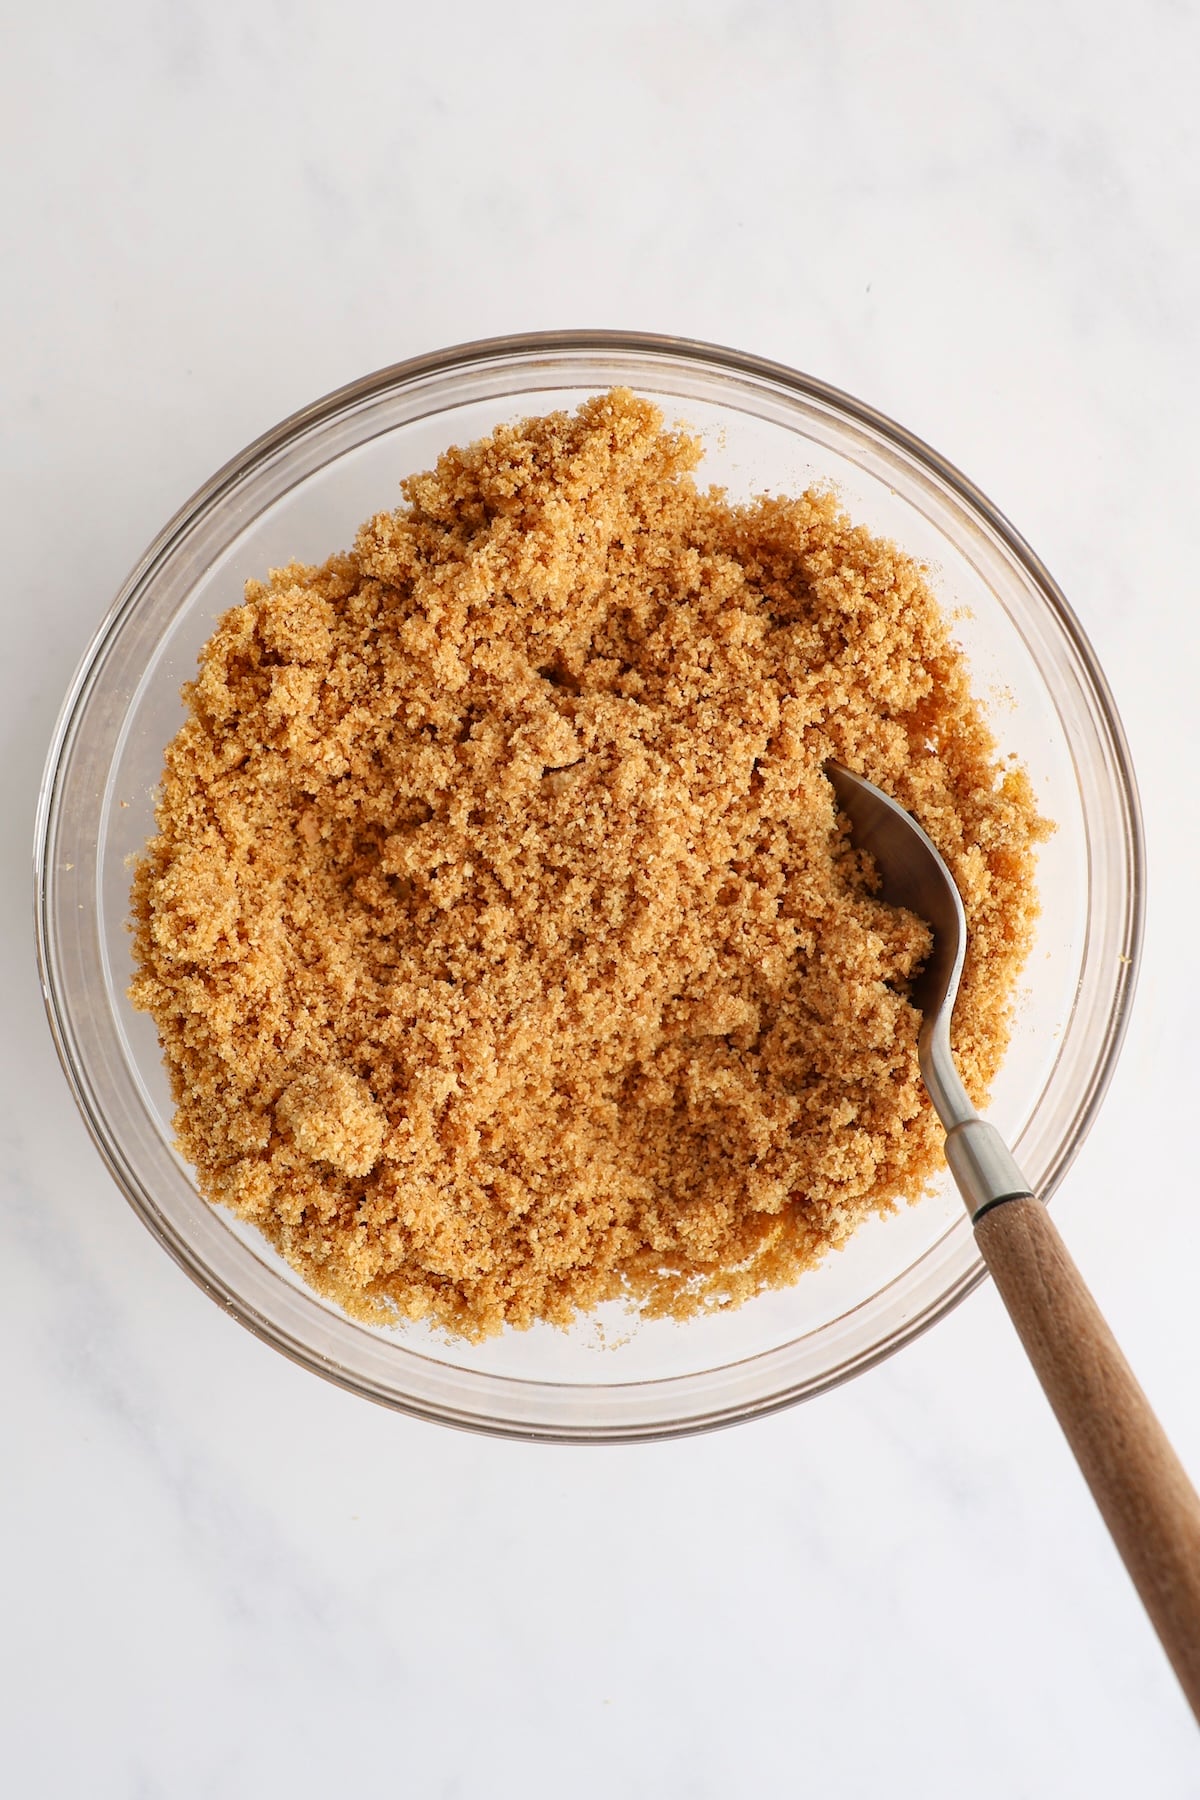
Step 2: Mix with the butter and sugar. In a medium bowl, mix the graham cracker crumbs, brown sugar, and melted butter until the mixture is evenly moistened. You want the mixture to resemble wet sand. This ensures that the butter is evenly distributed and that the crust will hold together well after baking.
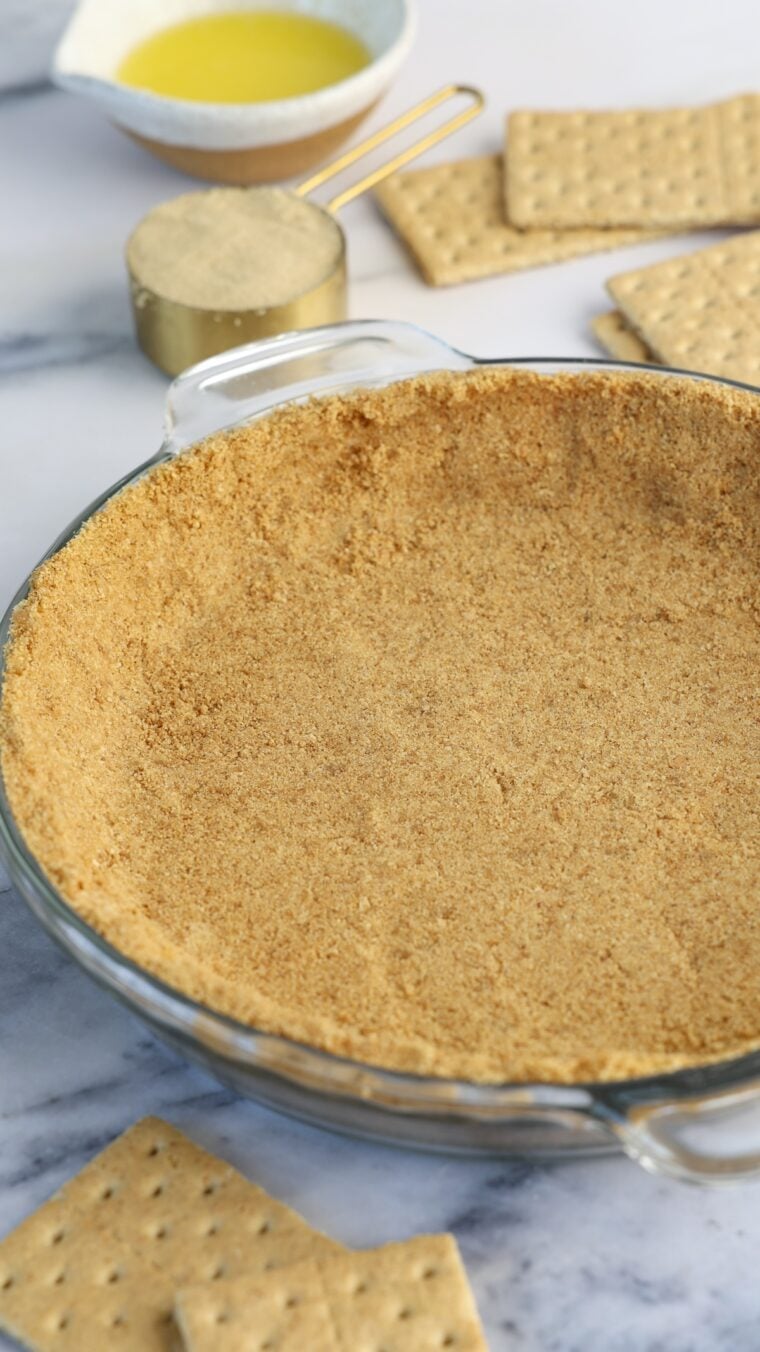
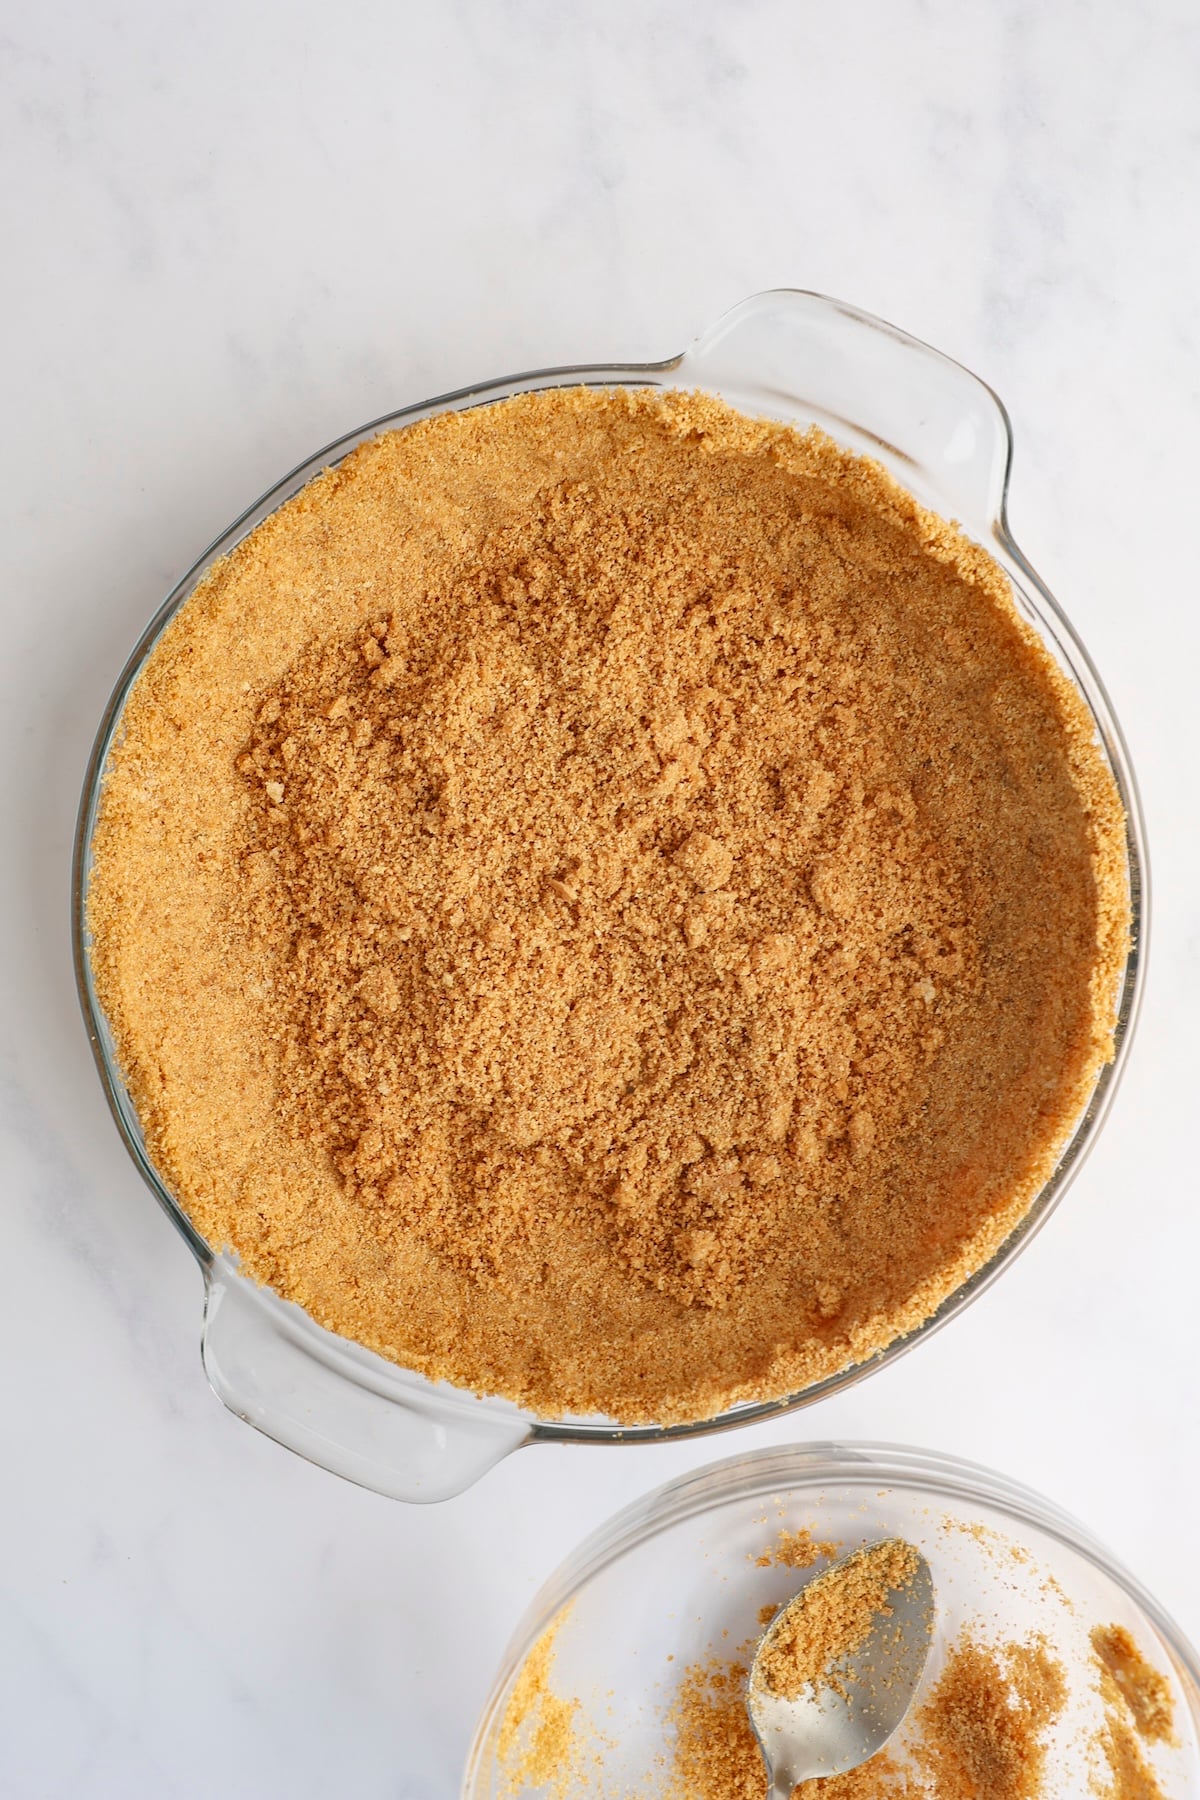
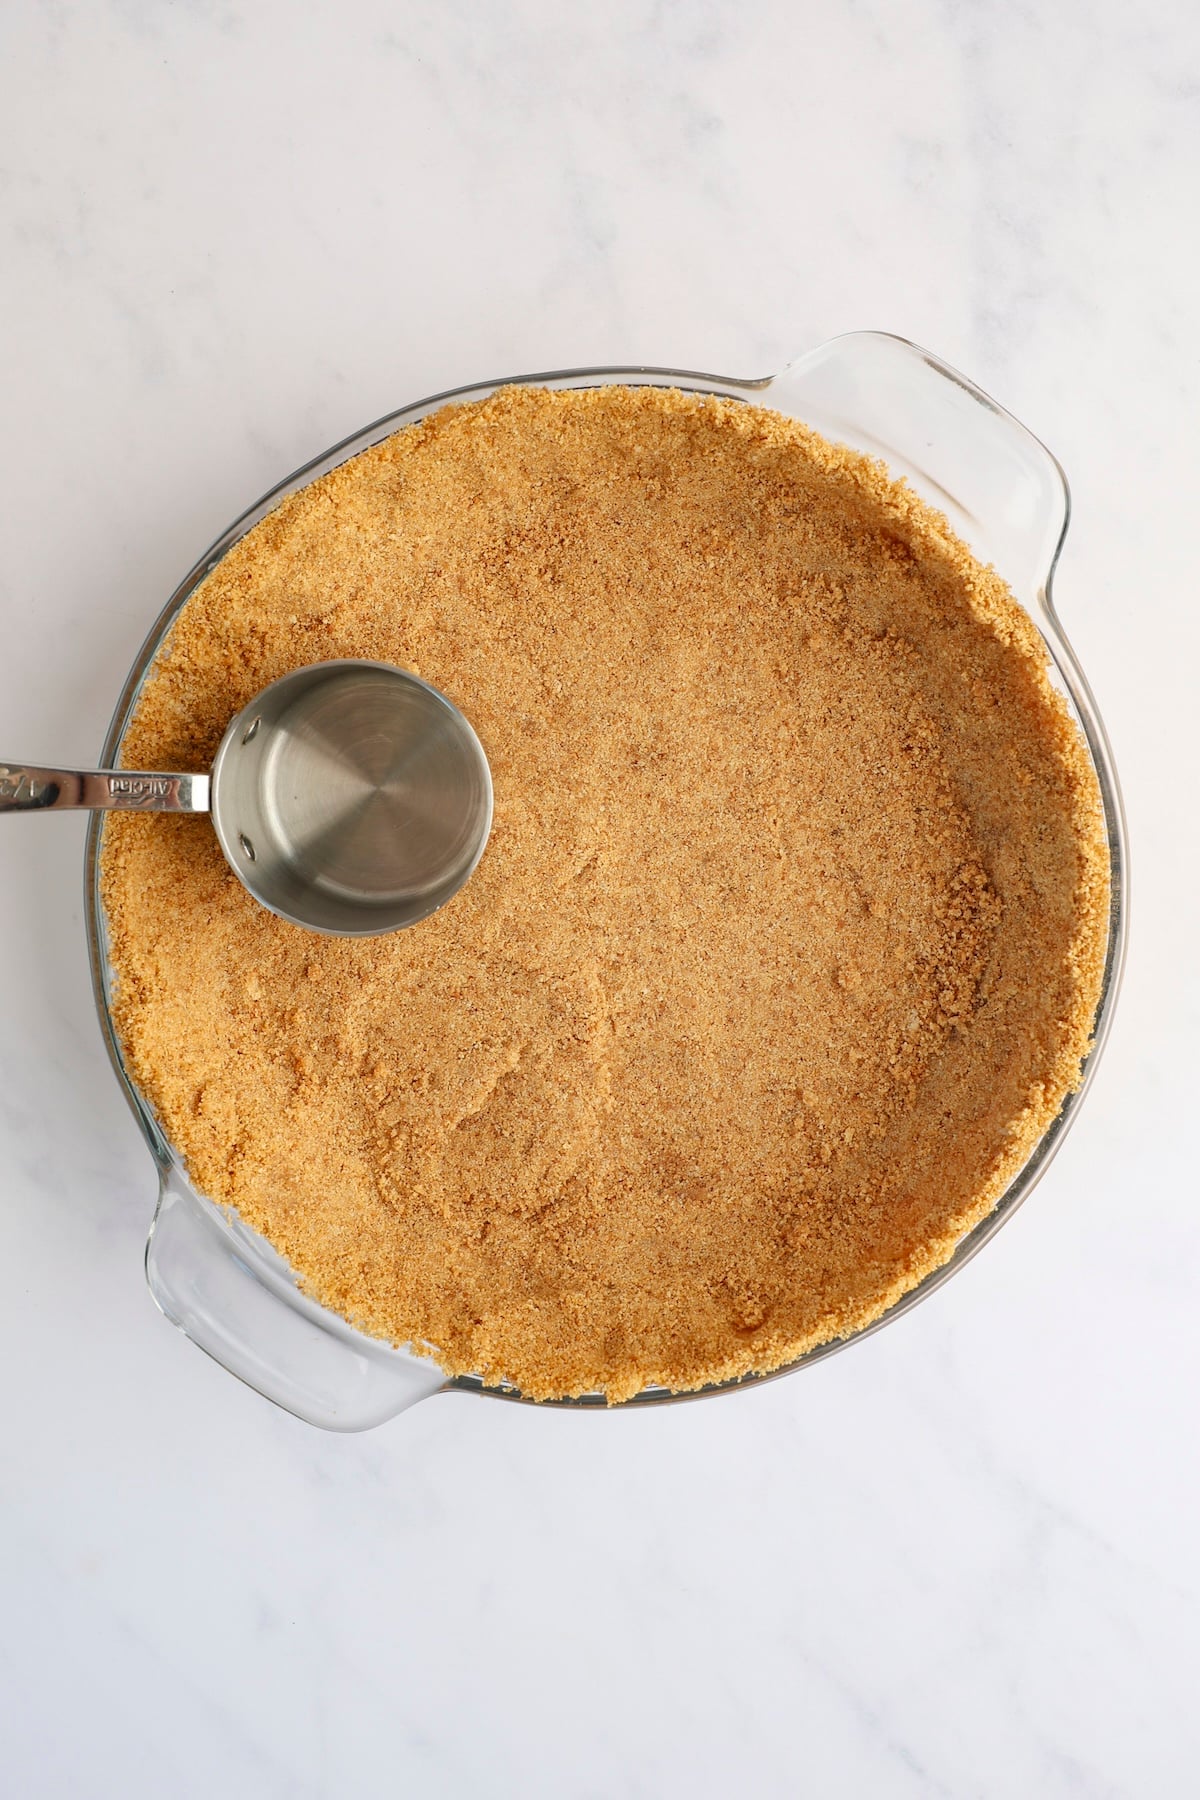
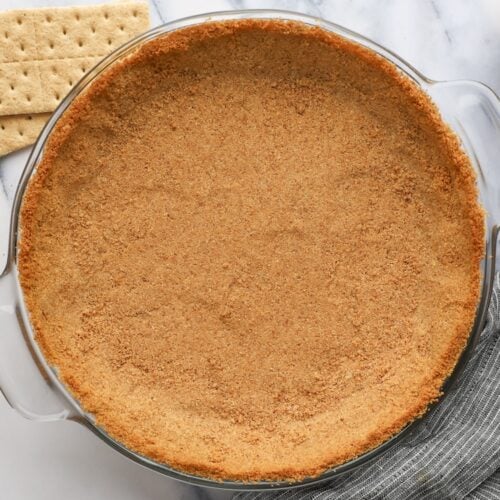
Step 3: Press into mold. Pour the mixture into a 9 x 1.5 inch pie pan (deep dish). Press the breadcrumbs evenly around the sides and then toward the bottom, using your fingers or the back of a spoon. Press firmly but not too hard: the crust should be well packed but not dense. Once the sides are cooked, press the remaining breadcrumbs into the bottom. A measuring cup or glass works well to press firmly onto the bottom and sides. Be sure to get into the corners and smooth out any irregularities.
Pro tip: Although this basic recipe requires a standard deep-dish tart pan, it will also work in a tart pan or springform pan.
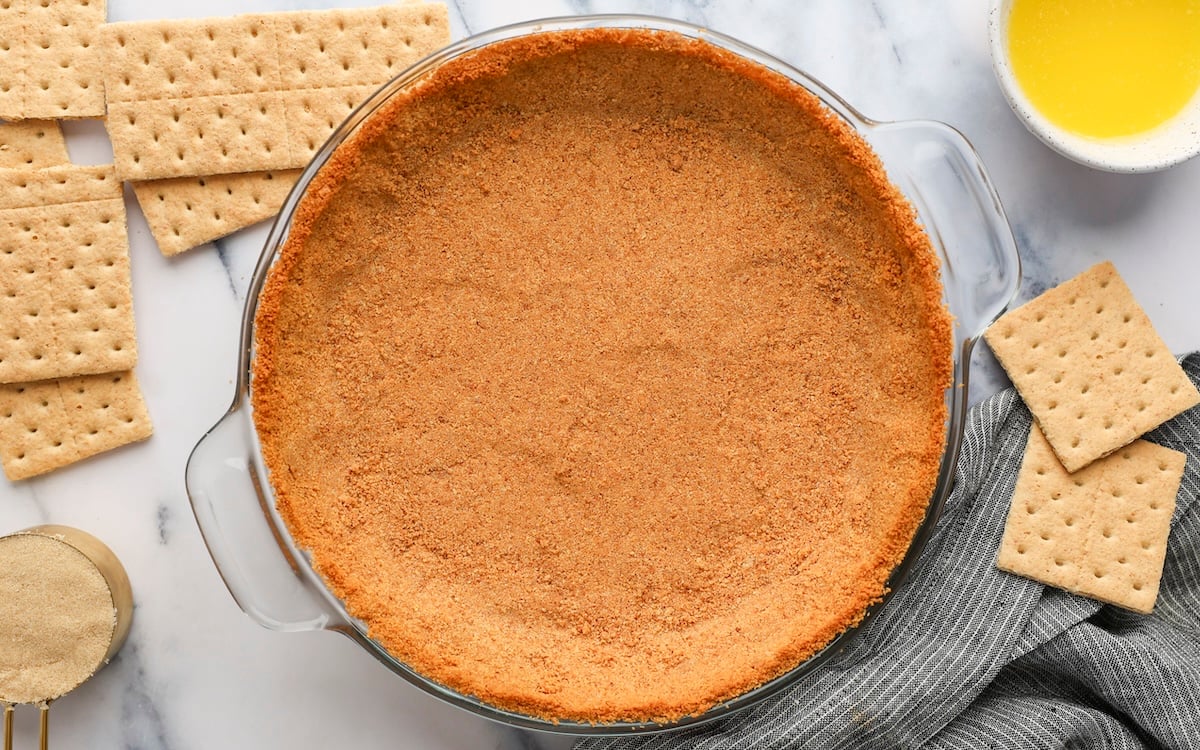
Step 5: Bake the Crust. Bake at 350°F for about 10 minutes, until lightly browned. Cool on a rack and it’s ready to fill.
Pro tip: Some graham cracker crust recipes skip the baking step, but I always pre-bake mine. It gives the crust a deeper, more toasted flavor and sets it, making it more solid, especially useful for no-bake toppings.
You may also like
Graham cracker crust
Made with just a few pantry ingredients, this homemade graham cracker crust is crispy, buttery, and easy to make.
Ingredients
- 1½ cups finely crushed graham cracker crumbs, from about 12 whole graham crackers
- ⅓ cup light brown sugar (packaged)
- 6 tablespoons unsalted butter, melted
Instructions
-
If you are making your own cookie crumbs, break the graham crackers in half, add them to the bowl of a food processor fitted with a steel blade, and process until the mixture is finely chopped. If using store-bought crumbs, skip this step.
-
In a medium bowl, combine graham cracker crumbs, brown sugar and melted butter; stir until mixture is evenly combined and moistened.
-
Pour the mixture into a 9 x 1.5 inch (23 x 3.75 cm) tart pan (deep dish). Using your fingers or the back of a spoon, press the crumbs evenly into the sides of the pan, moving them toward the edge. Press firmly but gently, making sure the sides are an even ¼ inch thick and compacted well without being too dense. Once the sides are formed, use the remaining crumb mixture to fill the bottom of the pan. With the flat bottom of a dry measuring cup or glass, firmly press the crumbs into an even layer, making sure to press into the corners where the sides meet the bottom to hold everything together. Check for any uneven spots and smooth them out with your fingers or the measuring cup.
-
Bake for about 10 minutes, until lightly browned. Let the crust cool on a rack.
Remarks
Preparation/freezing instructions: The graham cracker crust can be made up to 2 days in advance and stored covered at room temperature or in the refrigerator. For longer storage, let the baked crust cool completely, then wrap it tightly in plastic wrap and foil and freeze it for up to 3 months. Thaw overnight in the refrigerator before use.
Nutritional information
Per serving (10 servings)Calories: 118kilocaloriesCarbohydrates: 10gProtein: 1gFat: 9gSaturated fat: 5gCholesterol: 18mgSodium: 59mgSugar: 5g
This website is written and produced for informational purposes only. I am not a certified nutritionist and the nutritional information on this site has not been evaluated or approved by a nutritionist or the Food and Drug Administration. Nutrition information is provided as a courtesy and should not be construed as a guarantee. Data is calculated via an online nutritional calculator, Edamam.com. Although I do my best to provide accurate nutritional information, these numbers should only be considered estimates. Various factors such as types of produce or brands purchased, natural fluctuations in fresh produce, and how ingredients are processed change the effective nutritional information of a given recipe. Additionally, different online calculators provide different results based on their own nutritional data sources and algorithms. To get the most accurate nutritional information in a given recipe, you should calculate the nutritional information with the actual ingredients used in your recipe, using your favorite nutritional calculator.

